How To Replace The Screen In Your T-Mobile Wing
Phones October 8th, 2008The touch screens in phones are pretty tough these days, but when they break the phone is pretty much toast. Or is it? It turns out the LCD screen in the T-Mobile Wing is actually pretty easy to replace, and I’ll show you how.
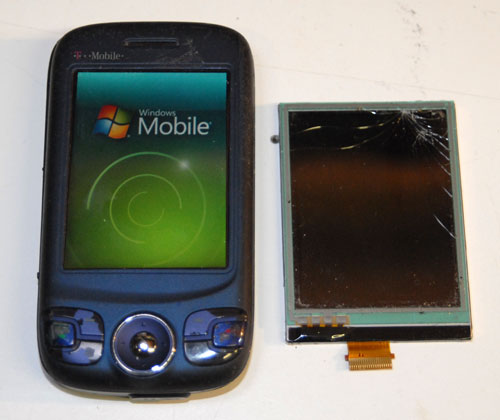
What You Need:
- T-Mobile Wing with broken screen
- Replacement screen
- Small Torx screwdriver (T6)
- Small Phillips screwdriver
- Small flat screwdriver
You can get a wing replacement screen here. Look for screens that say they will fit the following (they’re all the same phone):
- T-Mobile Wing
- HTC Herald
- HTC P4350
I used an aftermarket screen and you have to push a bit harder than you used to to use it, but it works okay.
Take the Wing Apart
Remove the stylus.
Remove the back cover.
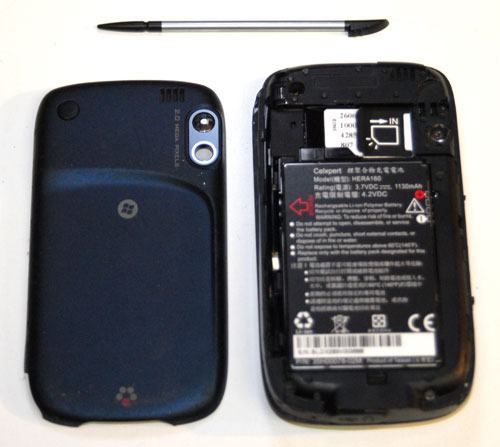
Remove the battery.
Slide the SIM card latch down and remove the SIM card.
Remove the Micro SD card from the slot on the side.
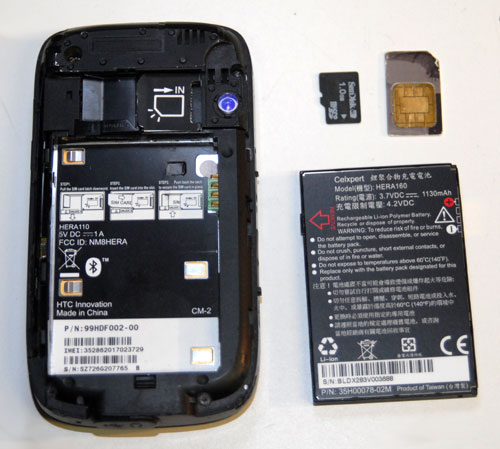
Use the Torx screwdriver to remove the four screws that hold the two case-halves together.
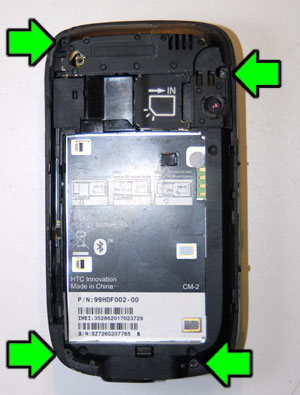
Lift the upper part of the case back off and set it aside.
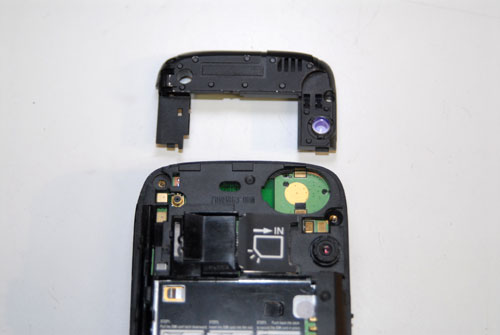
Remove the rest of the case back. It is snapped together so you’ll probably need to pry it apart with your fingernail or a small flat screwdriver. You shouldn’t have to pry too hard; don’t crack the case.
Use a small Phillips screwdriver to remove the screw that holds the PCB in place.
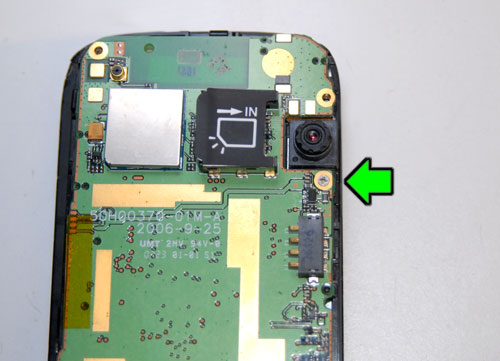
Disconnect the ribbon cable that goes to the keyboard. Do this by first removing the piece of clear yellow tape (if present) that is covering the connector. Next flip up the brown plastic latch (it lifts up on the ribbon side of the connector). The ribbon cable should now easily slide out of the connector.
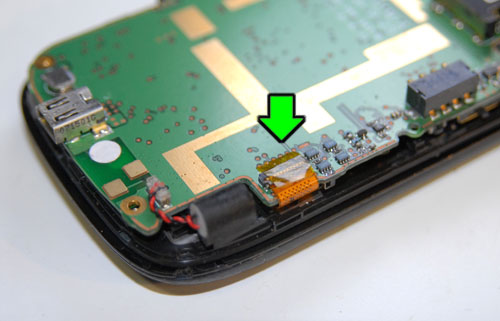
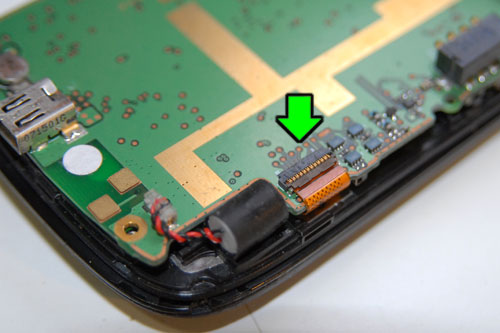
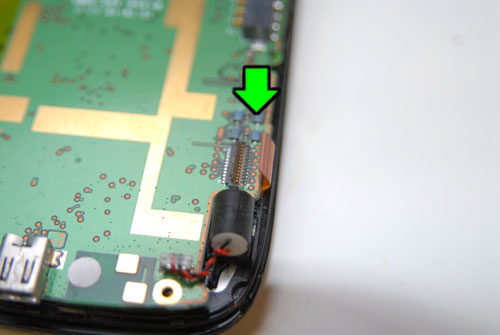
Gently pry the PCB away from the top half of the case. You should be able to see the ribbon cable that goes to the screen and front panel buttons. Remove the piece of tape (if present) and disconnect the connector by gently prying it away from the PCB. Set the PCB aside.
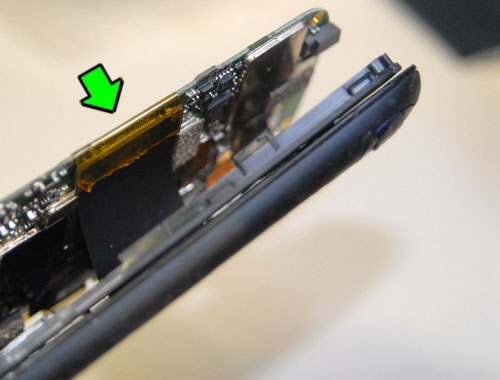
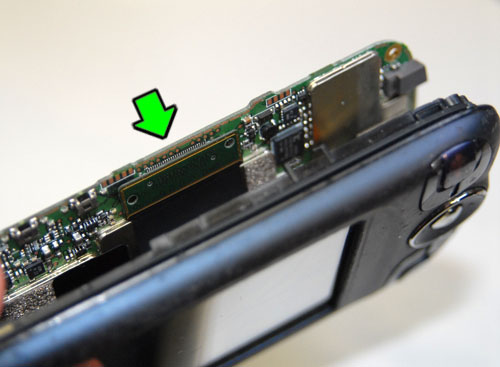
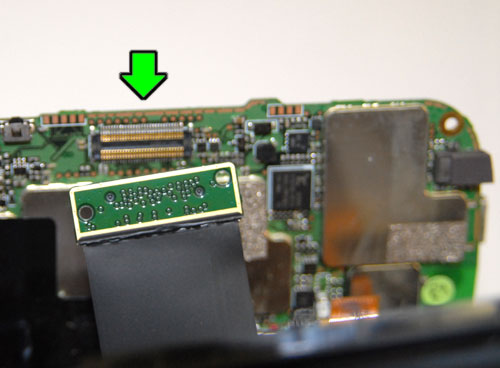
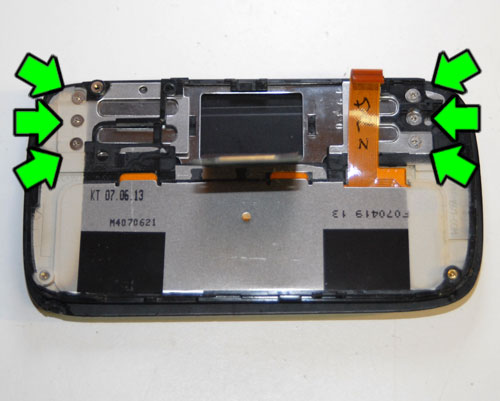
Use the Phillips screwdriver to remove the 6 screws that hold the screen assembly onto the rest of the phone.
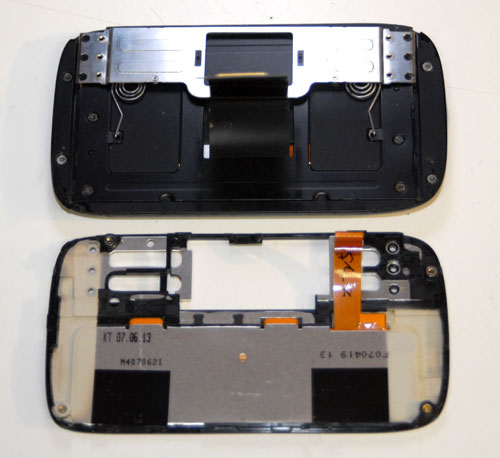
Use the Torx driver to remove the four screws that hold the screen assembly together.
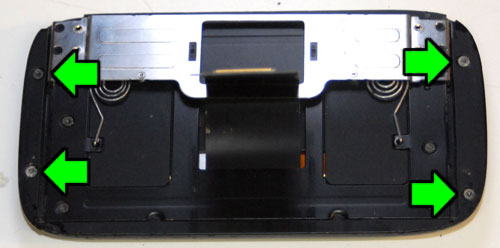
The two halves of the screen assembly are snapped together like the two main case halves were. Use your fingernail or a flat screwdriver to gently pry the halves apart.
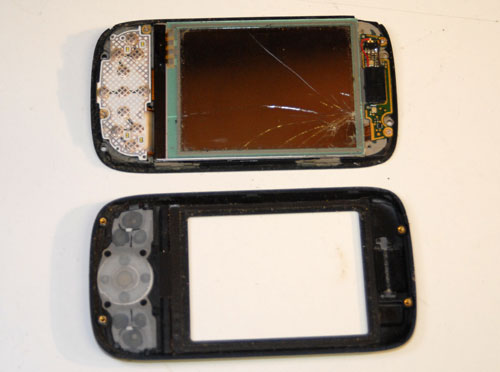
Remove the two Phillips screws that hold the front panel button PCB in place.
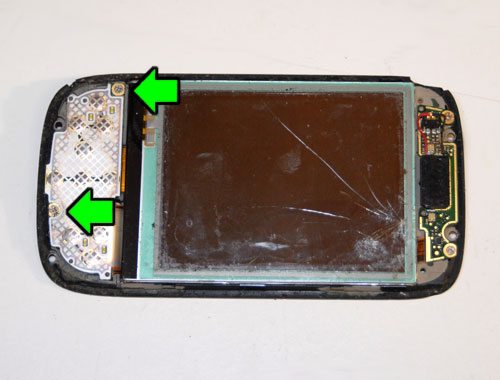
Gently pry the screen and button PCB away from the case. You should now have access to the ribbon connector for the screen.
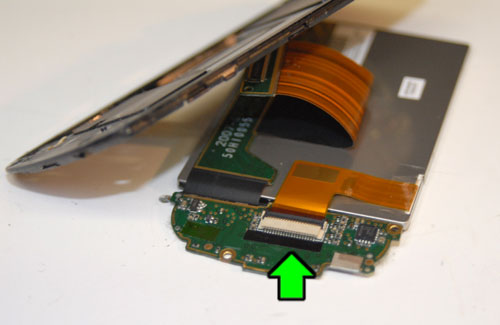
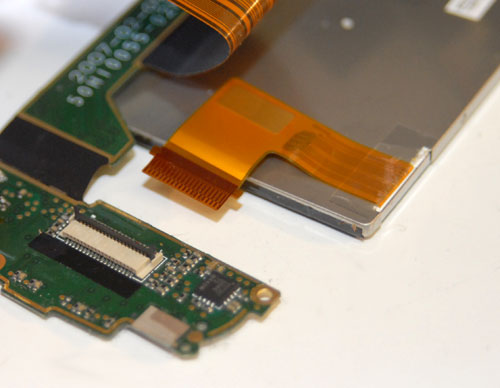
Disconnect the ribbon cable by flipping the connector’s latch up and sliding the cable out. The old screen is now free from the phone.
Install the new screen
Connect the ribbon cable for the new screen. If you are using an aftermarket screen the ribbon might look different or come out of a different part of the screen. That’s okay as long as the end fits into the connector.
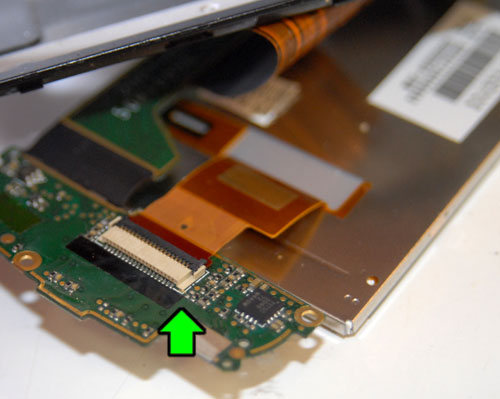
Flip everything back over. Set the button PCB and the new screen into place. Everything should fit together properly. The screen may get pushed up a little bit if you had to make a new bend in the ribbon, but it will be held in place when you put the screen assembly back together.
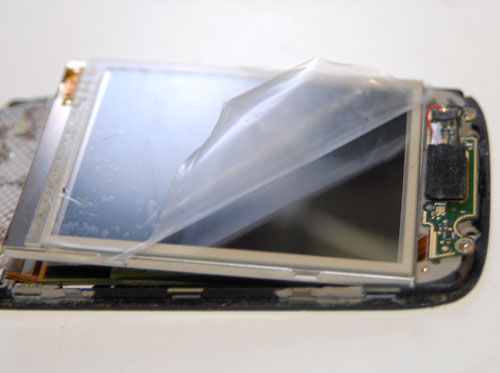
This is the time to remove the protective plastic from the front of the screen. If you don’t do it now you won’t be able to get to the edges to peel it off!
Put the Wing back together
Reassembly is basically the reverse of disassembly. It should be pretty straightforward, but here are a couple of hints:
- Make sure you get the ribbon cable inserted into the connector all the way (it’s a bit tight).
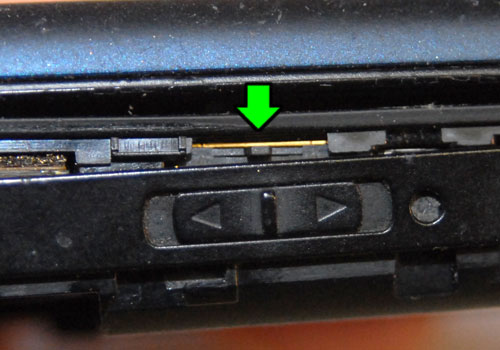
- Before you snap the two case halves back together, make sure the volume up/down slide switch cap lines up with the actual switch on the PCB.
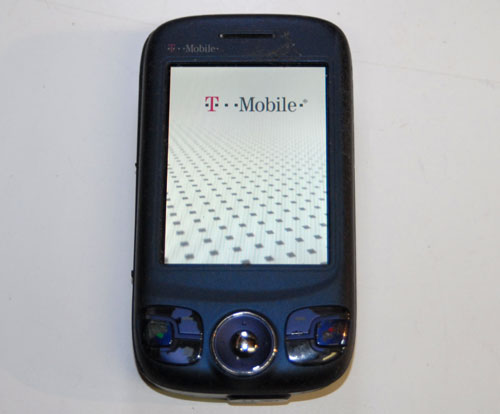
When you are all done, turn the phone on and test the display, backlight and touch screen. You’ll probably want to calibrate the new touch screen (Start > Settings > System > Screen > Align Screen).
Now you can call all your friends and tell them that your phone works again!


December 27th, 2011 at 3:09 AM
Congratulations on having one of the most sophisticated blogs Ive come throughout in some time! Its just incredible how considerably you can take away from anything simply because of how visually beautiful it is. Youve put together a great blog space great graphics, videos, layout. This is surely a must-see blog!
December 30th, 2011 at 2:47 AM
I really like your page it’s very detail about all the steps to acheive my goal to replace my screen. Eventhough there are new phones out there I still like my wing and dont want to give it up. Thanks for your site.
February 26th, 2012 at 2:40 AM
I’ve study not one particular write-up on your blog. You’re a huge lad
February 29th, 2012 at 3:49 PM
Well, I did eat a lot of cookies over the holidays…
April 1st, 2012 at 5:19 PM
Yo, you are killin it! I love this page. Subscribed for life. keep it real!
May 6th, 2012 at 3:35 AM
The phone is for my son and he really likes it. It has many cool features his other phone did not have. Good service and delivery time.